Tuesday, October 4, 2011

Carousel

I am so excited as another dear friend has given birth to her first little bundle of joy,  a most gorgeous baby boy.  As she now lives in Canada with her husband, I won't beable to have cuddles, so have had to settle for the darling pics they have posted.  Well, of course to welcome little Alexander's arrival and to congratulate his lovely parents I have made this sweet little carousel card.  This card started life as a fold out card but evolved into a carousel.  I just love the bright and fun colours from my newest kaisercraft pad. The inspiration came from my own childhood and the great memories I have of being taken by my Granparents to ride on the Merry-Go-Round in Civic, Canberra. I still love knowing that the Merry-go-round is still there and when our children were younger and we still lived there, I just loved taking my kids for a ride...oh such great times!!


A little message tuck inside the back flap of the carousel and then images showing the back and the front of the card laying flat. 


I found this card a little challenging to photograph and have ended up with a million photos..sorry!!


I wish to enter this card into the latest ABC Challenge - Anything goes! and Creatalicious Challenges - Anything goes

For this card I have used:

Little horse stamp by Kaisercraft
Patterned papers from Party Animals Paper Pad by Kaisercraft
Yellow cardstock
recycled cream ribbon
Dimond adhesives by Kaisercraft
Scolloped edge punch
Copic sketch markers
Sentiment rub-ons

Saturday, October 1, 2011

Gustavianesque Styled Christmas card

We are officially at the end of our September school holidays and I have had such a great time with my kidlets.  I decided not to craft while they were home, instead enjoying battles on the Wii, board games, baking and our first trip to the beach (not bad considering it is still Spring!!).  However, the latest challenge at Tomic caught my eye a few days ago and I decided I wanted to play along, using the inspirational pic and sketch below I set to work to create my first Christmas card. 


I made a little white Christmas wreath from a recycled white plastic shopping bag cut into strips and tied to some garden wire then added some white ribbons to complete; this forms the centrepiece of my little project and the frame for little Tilda. 


I wish to enter the following challenges:
TOMIC #17 Get Inspired

To make this card I used:
Copic sketch markers - E50, 51, 55, 57, 30,33,37, R 22, 20, 24, 27
Magnolia Tilda rubber stamp
Gold spica pen
White plastic shopping bag
Thin wire
White ribbon
White cardstock by DCWC Matchmaker
All patterned papers are from December 25th Kaisercraft pad
Jewels are December 25th self adhesive pearls by Kaisercraft

Wednesday, September 14, 2011

Sisterly love...

I have made this cute little card following Karen's sketch for this weeks Magnolia Down Under Challenge.  As I am making this card with my twin sister in mind, Twin Tilda was of course  the obvious choice.  This adorable stamp was gifted to me last year for my birthday by my amazingly creative and crafty cousin....
our birthday is not for a few months, but with Christmas cards to make I decided that this was a good opportunity to get a little organised. 


A little heart charm

corner flower by Kaisercraft.


I will be entering this card into the Magnolia Down Under Challenge #113 - Karen's sketch. http://magnoliadownunderchallenges.blogspot.com/


Material used for this card;

Green and pink cardstock
Butterfly paper - Black and White timeless by Kaisercraft
Pink polka dots - from my scrap stash - origin unknown.
scolloped egde punch by Friskars
Magnolia Stamp- Twin Tilda
Flower Stamp - Corner flower, mini clear stamp by Kaisercraft
Black rhinestones by Kaisercraft
Silver charm by Jewellery Bitz
Rub on words from spotlight
Craft ribbon coloured with black copic sketch marker
Copics - R20, R21, R22, R24, e50, E51, E30, E55, E57, G20, G21, G24.

Friday, September 9, 2011

Spring has sprung

It has been a while since I sat down to colour any of my Magnolia images, I think I lost interest in colouring due to my limited colour selection.  However, since purchasing some more copic pens I have fallen in love with them and have once again inked up my beautiful Magnolia stamps.  I purchased this cute image from Arnolds scrapbooking last year while at a Craft Expo and it has remained one of my favourites.  I love the way the little lamb is craddled, reminds me of how my youngest carries our poodle x bichon frise around the house.  I also thought it   quite fitting for Spring, which is my favourite season with new life in all forms, warmer days and for us here a little welcome rain to green the grass and feed the garden beds.
I have used a lilac, red/pink and green colour scheme framing the image with a border of flowers.


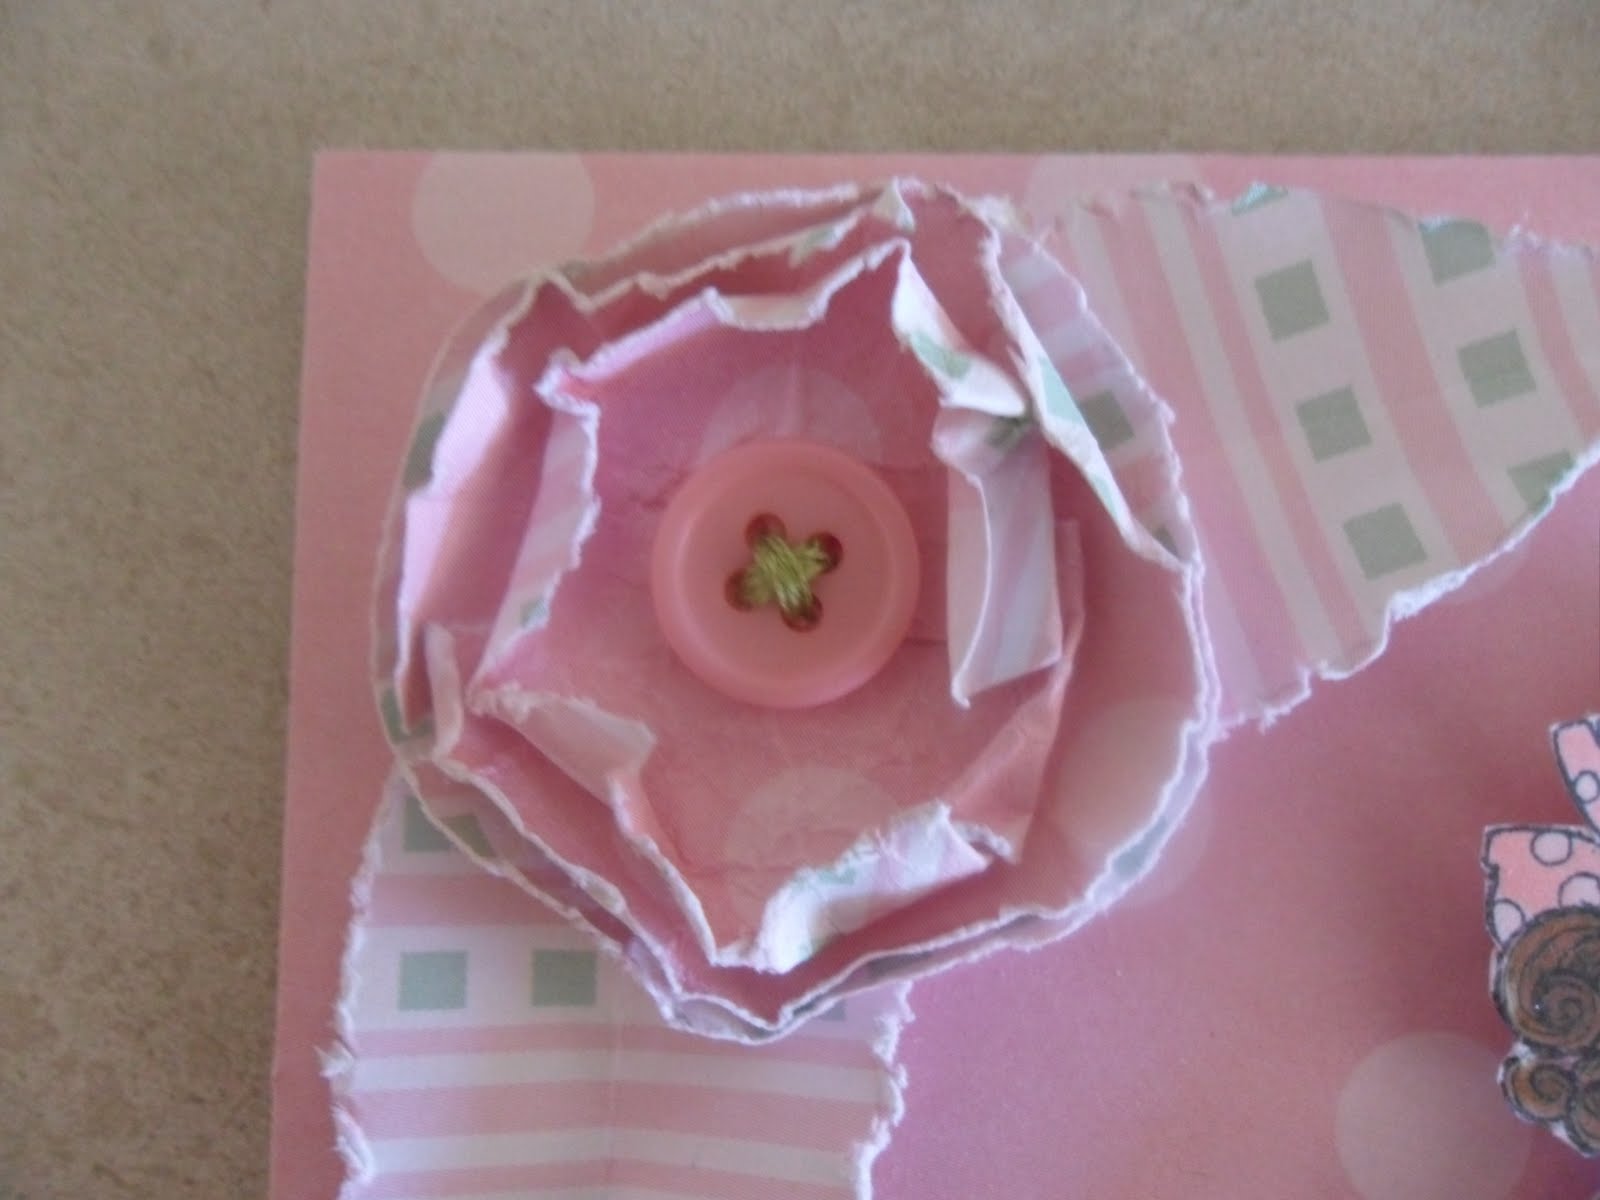
A few stitches and a string of bunting to complete the frame around this little cutie pie....


I would like to enter this card into the Magnolia Down Under Challenge - Frame it!
http://magnoliadownunderchallenges.blogspot.com/

For this card I used the following materials;

Stamp- Tilda with lamb by Magnolia
Ink- momento tuxedo black
Copics (sketch) - E50, E51, R20, R21, R22, R00, V91, V15, E33, E51, E55, E57, C0, C1, W1
Cardstock- purple from DCWV neutrals pad.
Papers- Snap dragon from Lilac Avenue Collection by Kaisercraft and Poinsettia red Gingham by Print Blocks Australia Scrapbook Page.
Ribbon - recycled
Lime green embroidery cotton
Flowers - Prima and Kaisercarft.
Fiskars scollop edge punch.
Kaisercraft self adhesive jewels - December 25th pearls.

Flirty Edward in blue, green and white

Today I have put together this little card using Flirty Edward from the Greeting Farm.  The colour selection of green, blue and white was made so I could play along with the girls from Bizzy Becs and enter their current challenge (for details head here http://bizzybecsstore.blogspot.com/). 
I have avoided adding embellishments opting for this cleaner look as the card was made for an older male in mind.  As this is a birthday card a pocket has been added on the inside flap to accomodate a gift card.


I would like to enter this card in the following challenge:
 Bizzy Becs - Blue, green and white.  http://bizzybecsstore.blogspot.com/

Materials used to make this card:
Stamp - Flirty Edward froom The Greeting Farm
Ink- Momento, Tuxedo Black
Cardstock- Brilliant blue by Quill
Papers- Green polka dot paper was from my old scrapbooking stash, Tree print and textured blue/green was from my DCWV Neutrals cardstock book. 
Copics (sketch) - W1, E50, E51, E55, E57, G20, G21, G24, B23, B24, Y04, Y08.

Violet

My gorgeous little god daughter is celebrating her 5th birthday today.  As I have all my nieces celebrating birthdays around this time of the year, I opted to use the same image (to be fair) on all cards; hence why cute Marci has been making a regular appearance.  For this card I decided to personalise the card by using raised sticky back letters to spell out the birthday girls name and of course this (her name) influenced my colour selection. A recycled length of lime green satin ribbon was added for interest, a few little flowers by Prima and Kaisercarft to decorate the name plate and black rhinestones complete the look.   


The Polka dot paper is from Black and White Timeless Paper Pad by Kaisercraft, while the cardstock was Ladybug weave by AC Cardstock and Purple from DCWV Cardstock - neutrals.

Saturday, September 3, 2011

Well,  the last month or so has been a little crazy....after my hubby being away for work for the best part of a month I made it along to a much awaited craft class; to learn more about using the wonderful copic pens.  I came home so excited and with many new colours only to wake the next morning with the flu and have spent the best part of the last 4 weeks trying to get rid of it.  I am now back to normal (almost) and have finally enjoyed playing with my new colours and putting newly acquired techniques to use.
I have had many family birthday's to create for, so the first card was made using my new Marci stamp from La La Land.  I purchased her to practise adding some dimension to hair and what better image to start with.  I made a simple step card design, adding a few rhinestones and prima flowers to complete this simple card for my gorgeous and cheeky niece.


 The next card was made for another niece and sister to the previously mentioned little monkey.  I used a Sarah Kay image that was inked and sent to me by my amazingly talented cousin a while ago.  I coloured her after I purchased my first copics and have had it sitting on my desk waiting for use.  I wished I had waited until I had more colours and a better idea of how to use them before colouring this lovely young lady, but I could not bare to see her go to waste and decided that a teenage card was the perfect place for her.


 This set of Father's day cards where made with my newly acquired "Father" sentiment stamp from Arnolds at Rothwell (Brisbane).  I wanted a more masculine look for these cards and eventually settled on this red, black and white colour scheme. The papers used for these cards are "Black and White Timeless" by Kaisercraft with some walnut coloured distress ink applied to tone down the white, with a few black rhinestones and ribbon to complete.


Tuesday, July 26, 2011

Loving my teenager

Tomorrow we celebrate our eldest son's birthday and despite being a teenager he is still very excited about his special day.  The other children have purchased little gifts, the cake is in the oven and I completed his birthday card today.  I don't have a great variety of male images, so pulled out my boy manga image to stamp up again.  I made a step style card to give a bit of interest to what is otherwise a plain card, coloured the image with some bright colours and used raised sticky back numbers to complete.


Relax and smell the flowers...

I had two reasons for making this card today, the first to send to my dearest friend for her birthday and the second to enter it in my first ever challenge!  I have been wanting to do this for a while but have been a little hesitant and not too sure how to do all the linky up stuff....so hopefully I will figure all this out.
This morning I read about the Shabby Tea Roon "relax and enjoy" challenge and instantly knew how I wanted this card to look ( http://theshabbytearoom.blogspot.com/2011/07/week-72-relax-and-enjoy.html ).


I hand made some more paper flowers using pink and yellow polka dot paper which I combined with some store purchased flowers to create a shabby effect.  I did not want to use a coloured image on this card, instead preferring to use the word "relax" as the focal point. 


For this card I used:
Foof-a-la - Autumn leaves paper
Avalon -Fantasy paper
Avalon - Illusion paper
7 Gypies - Victoria paper
yellow cardstock
black rhinestones by kaisercraft
black raised letters (from Spotlight)
White flowers by Prima
Pink flowers from Blossies Scrapbooking Store
Black satin ribbon
Yellow craft ribbon
Buttons from my oddments box.

Magnolia with paper flower

I have been wanting to try my hand at a simple hand made paper flower for a while, so made this quick and very easy card up for this very purpose.  I coloured this cute little magnolia stamp a while back and chose some spotty paper from my stash to compliment her dotty dress. My colouring needs much improvement so I am very excited to be heading to a copic class at one our my local supply and craft stores tomorrow; can't wait to pick up some handy tips from the experts.